HTML5
HTML5
新增的块级元素
aside元素
<aside>
    <h3>最新文章</h3>
    <ul>
        <li><a href="#">文章标题</a></li>
    </ul>
</aside>
figure元素与figcaption元素
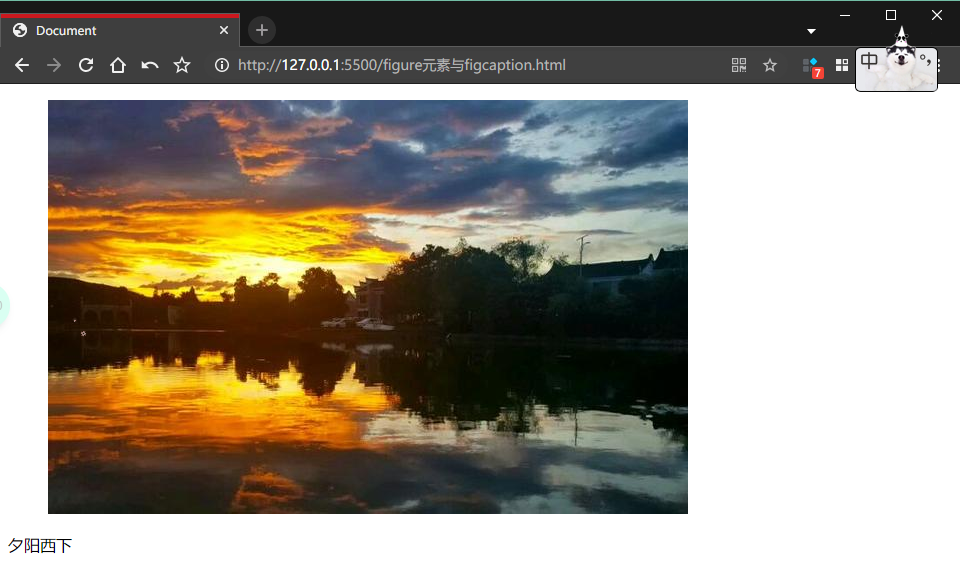
figure元素表示一段独立的流内容,一般表示文档主题流内容中的一个独立单元。使用figcaption元素为figure元素组添加标题。说白了就是图片的标题
<figure>
      <img src="http://pics6.baidu.com/feed/48540923dd54564e2e42b53f18c94484d1584fab.jpeg?token=1a29a51b1cfe8523eaa653fc747d52d4" alt="夕阳西下">
 </figure>
 <figcaption>
     <p>夕阳西下</p>
 </figcaption>
dialog元素
dialig元素用于表达人与人之间的对话。<dt>标签用于表示说话者,<dd>标签用于表示说话的内容
 <dialog>
     <dt>问</dt>
     <dd>这次香辣鱼好吃吗</dd>
     <dt>答</dt>
     <dd>这次的很好吃,味道好</dd>

     <dt>问</dt>
     <dd>吃得饱吗</dd>
     <dt>答</dt>
     <dd>饱啊,可饱了</dd>
 </dialog>
新增的行内语义元素
mark元素
用来标记一些不需要特别强调的文本

<p>国庆节期间,高一年级全体同学<mark>去中国科技馆参观</mark>。</p>
time元素
用于定义日期和时间
再设置时间或日期时,只需要将该元素的datatime设为相应的日期或时间即可。
<p id="p1">
<time datetime="2021-6-10">今天是2021年6月10日</time>
</p>
<p id="p2">
    <time datetime="2021-6-10">经中心校决定,与...举办会议,请大家按时到场。。。</time>
</p>
<p id="p3">
    <time  pubdate ="true">本消息发布于2021年6月10日 15:28:38</time>
</p>
progress元素
html:
<p id="pTip">开始下载</p>
<progress value="0" max="100" id="proDownFile"></progress>
<input type="button" value="下载" class="inputbtn" onclick="Btn_Click();">
css:
 body{
        font-size: 13px;
 }
 p{
     padding: 0px;
     margin: 0px;
 }
 .inputbtn{
     border: solid #ccc;
     background-color: #eee;
     line-height: 18px;
     font-size: 12px;
 }
js:
var intValue = 0;
var intTimer;
var objPro =document.getElementById('proDownFile');
var objTip = document.getElementById('pTip');//定时事件
function Interval_handler() {
       intValue++;
       objPro.value = intValue;
       if(intValue >=objPro.max){clearInterval(intTimer);
       objTip.innerHTML = "下载完成";
     }else{
         objTip.innerHTML = "正在下载"+intValue +"%";
     }
 }
 function Btn_Click(params) {
     innerHTML = setInterval(Interval_handler,100);
 }
meter元素
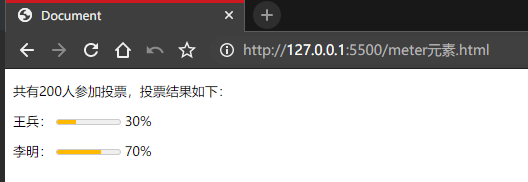
用于表示在一定数量范围的值,如投票中候选人各占比例情况及考试分数等。
html:
<p>共有200人参加投票,投票结果如下:</p>
    <p>王兵:
        <meter value="30" optimum="100" high="90" low="10" max="100" min="0"></meter>
        <span> 30% </span>
    </p>
    <p>李明:
        <meter value="70" optimum="100" high="90" low="10" max="100" min="0"></meter>
        <span> 70% </span>
    </p>
cs:
body{
       font-size: 13px;
}
新增的嵌入多媒体元素与交互性元素
videwo元素
用于定义视频,包括电影片段和其它视频流
<video src="咏春拳32个基本手法.mp4" controls="controls">video元素</video>
audio元素
<audio src="someaudio.wav"></audio>
embed元素
用来插入各种媒体
格式可以是MIDI、WAV、AIFF、AU、MP3
<object data="flash.swf" type="application/x-shockware-flash"></object>
新增的input元素的类型
用户输入的内容在表单中完成,并提交给后台
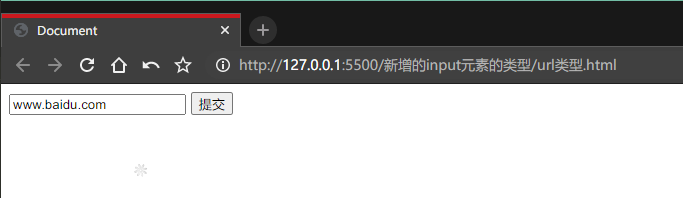
url类型
   <form>
        <input type="url" name="urls" value="www.baidu.com">
        <input type="submit" value="提交">
    </form>
如果文本框中输入的不是url,将无法提交
Email类型
   <form>
        <input type="email" name="urls" value="www.baidu.com">
        <input type="submit" value="提交">
    </form>
如果文本框中输入的不是email,将无法提交
date类型
采用的是日历的形式,方便用户输入

    <form>
        <input type="date" id="date_o">
        <input type="submit" value="提交">
    </form>
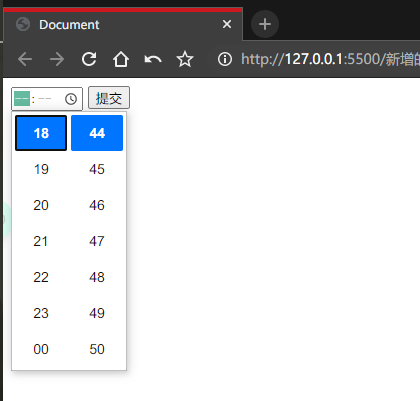
time类型
专门用来输入时间,并且在提交时会检查时间的有效性。外观随不同的浏览器而不一样。
    <form>
        <input type="time"  id="time_o">
        <input type="submit" value="提交">
    </form>
datetime类型
专门用来输入本地日期和时间的文本框,提交时也会检查数据有效性。但是目前主流浏览器都不支持datetime类型。
  <form>
        <input type="datetime" >
        <input type="submit" value="提交">
    </form>
HTML5结构元素
新增的主体结构元素
article元素
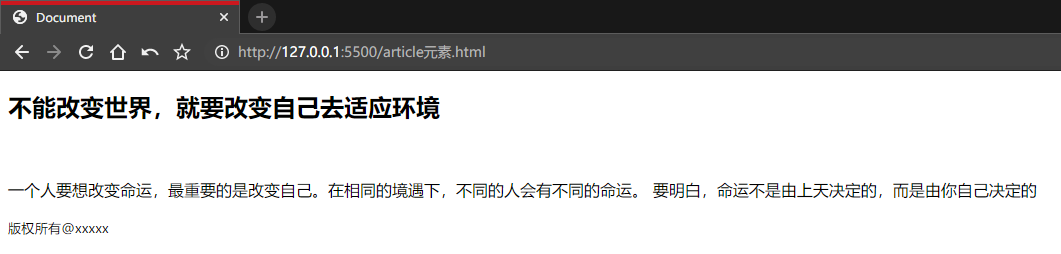
可以包含独立的内容项,如一篇论坛帖子、杂志文章,这个元素可以将信息各部分任意分组,与信息原来的性质无关。
    <article>
        <header>
            <h1>不能改变世界,就要改变自己去适应环境</h1>
        </header>
        <br>
        <p>一个人要想改变命运,最重要的是改变自己。在相同的境遇下,不同的人会有不同的命运。
            要明白,命运不是由上天决定的,而是由你自己决定的</p>
        <footer>
            <p>
                <small>版权所有@xxxxx</small>
            </p>
        </footer>
    </article>
article元素也可用来表示插件,它的作用是使插件看起来好像内嵌在页面中一样
  <article>
        <h1>article表示插件</h1>
        <object>
            <param name="allowfullscreen" value="true">
            <embed src="#" width="600" height="395">
        </object>
    </article>
section元素
用于对王站上的内容进行分块,一个section元素通常由内容及其标题组成。
  <article>
      <h1>李白</h1>
      <p>字太白,号青莲居士,唐代伟大的浪漫主义诗人,被后人誉为诗仙,李白存世诗文千余篇,有《李太白集》传世</p>
      <section>
          <h3>望庐山瀑布</h3>
          <p>
              日照烟炉生紫烟,要看瀑布挂川前。<br>
              飞流直下三千尺,疑是银河落九天。
          </p>
      </section>
      <section>
          <h3>早发白帝城</h3>
          <p>
              朝辞白帝彩云间,千里江陵一日还。<br>
              两岸猿声啼不住,轻舟已过万重山。
          </p>
      </section>
  </article>
| article | 可以看作是特殊中类的section,强调独立性 |
|---|---|
| section | 强调元素分段或者分块 |
| 如果一个块内容相对来说比较独立、完整,应该使用article | |
| 如果想将一块内容分成几段,应该使用section元素 |
nav元素
nav元素在html中用于包裹一个导航链接组,用于说明这是个导航组,nav常用的场景有传统的导航条、侧边栏导航、页内导航、翻页操作等。只需要将主要的、基本的链接组放进nav元素即可。
这个示例是页面之间的导航,当然也可以用于全局导航,也可放在某个段落,作为区域导航。
   <header>
        <h1>网站页面之间导航</h1>
        <nav>
            <ul>
                <li><a href="article元素.html">首页</a></li>
                <li><a href="/新增的行内语义元素/progress元素.html">关于我们</a></li>
                <li><a href="/新增的行内语义元素/mark元素.html">在线论坛</a></li>
            </ul>
        </nav>
    </header>
aside元素
用来表示当前页面或文章的附属信息部分,它可以包含与当前页面或主要内容相关的引用、侧边栏、广告、导航条,以及有别于主要内容的部分。主要有两种用法:
- 作为主要内容的附属信息。包含在article元素中。

   <article>
       <h1>鸿蒙操作系统</h1>
       <p>实现国产自主开发</p>
       <aside>华为发布</aside>
   </article>
作为页面或站点全局的附属信息部分,在article元素之外使用。最典型的是侧边栏,其内容可以说友情链接、文章列表、广告单元.
新增的非主体结构元素
企业简介网页-简单练习
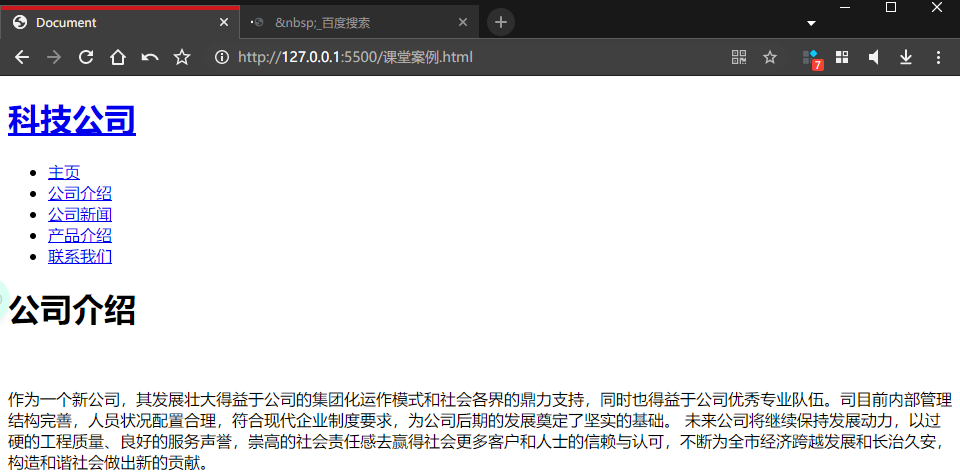
插入网页头部分,主要用于传入网页logo和网站导航
<body>
    <header>
        <div class="shell">
            <h1 id="logo"><a href="#">科技公司</a></h1>
            <nav>
                <ul>
                    <li class="active"><a href="#">主页</a></li>
                    <li><a href="#">公司介绍</a></li>
                    <li><a href="#">公司新闻</a></li>
                    <li><a href="#">产品介绍</a></li>
                    <li><a href="#">联系我们</a></li>
                </ul>
            </nav>
        </div>
    </header>
在html代码中每输入一个转义字符 就表示一个空格
<div class="shell">
<div class="main">
<hgroup>
<h1>公司介绍</h1>
</hgroup>
<article>
<p> </p>
<p>
作为一个新公司,其发展壮大得益于公司的集团化运作模式和社会各界的鼎力支持,同时也得益于公司优秀专业队伍。司目前内部管理结构完善,人员状况配置合理,符合现代企业制度要求,为公司后期的发展奠定了坚实的基础。
未来公司将继续保持发展动力,以过硬的工程质量、良好的服务声誉,崇高的社会责任感去赢得社会更多客户和人士的信赖与认可,不断为全市经济跨越发展和长治久安,构造和谐社会做出新的贡献。
</p>
</article>
</div>
</div>
<strong> 标签和<em>一样,用于强调文本,但它强调的程度更强一些。
<strong> 标签中的内容,通常是用加粗的字体(相对于斜体)来显示其中的内容
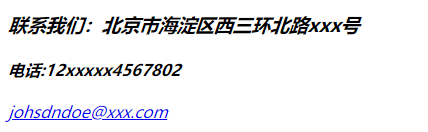
     <footer>
            <div class="shell"></div>
            <section class="footer-cols">
                <address>
                    <h3><strong>联系我们:北京市海淀区西三环北路xxx号</strong></h3>
                    <h4>电话:12xxxxx4567802</h4>
                    <a href="#">[email protected]</a>
                </address>
            </section>
        </footer>
header元素
通常用来放置整个页面或某个内容区块的标题,当然也可以包含其它内容,如表格、表单相关的Logo图片
一个网页可以拥有多个header元素,可以为每个内容区块添加标题
hgroup元素
对一系列<h1> ~ <h6>标签进行分组
select元素
也就是下拉框
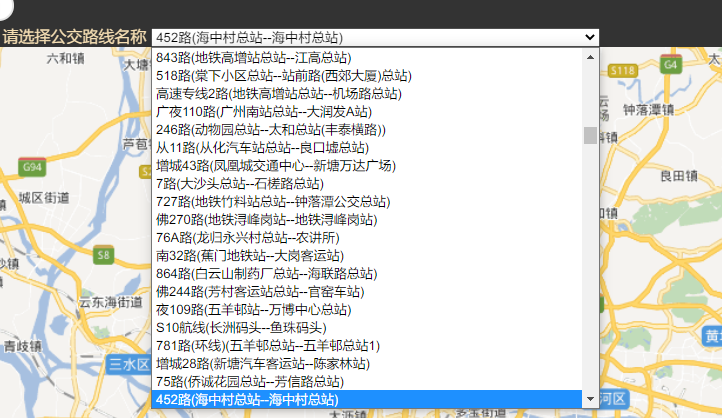
<select id="BusStation_name" onchange="GetSelectOptions(this.options[this.options.selectedIndex].text);">
     <option value="name">1路(芳村花园南门总站--东山总站(署前路))</option>
     <option value="name">1路(东山总站(署前路)--芳村花园南门总站)</option>
</select>
选择不同选项事件
参考教程:https://blog.csdn.net/qq_37591637/article/details/88835811
https://code.ziqiangxuetang.com/django/django-ajax.html
https://www.cnblogs.com/mcc61/p/11027622.html
win = window.open("", "", features);
win.focus();
window.open("平均房价.html", "_blank", "width=820, height=500, top=50, left=50, titlebar=no, menubar=no, scrollbars=no, resizable=no, status=yes, , toolbar=no, location=no");
window.open 弹出新窗口的命令; ‘index.html’ 弹出窗口的文件名; ‘newWindow’ 弹出窗口的名字(不是文件名),非必须,可用空’'代替; width=1024 窗口宽度; height=700 窗口高度; top=0 窗口距离屏幕上方的象素值; left=0 窗口距离屏幕左侧的象素值; titlebar=no 是否显示标题栏,被忽略,除非调用HTML应用程序或一个值得信赖的对话框.默认值是yes; menubar=no 表示菜单栏,默认值是yes; scrollbars=yes 是否显示滚动条,默认值是yes; resizable=no 是否允许改变窗口大小,默认值是yes; status=no 是否要添加一个状态栏,默认值是yes; toolbar=no 是否显示工具栏,默认值是yes; location=no 是否显示地址栏,默认值是yes;
实现Switch开关按钮
方法一:

 <input type="checkbox" class="switch">
    /* Switch开关样式 */
 input[type='checkbox'].switch {
     outline: none;
     appearance: none;
     -webkit-appearance: none;
     -moz-appearance: none;
     position: relative;
     width: 40px;
     height: 20px;
     background: #ccc;
     border-radius: 10px;
     transition: border-color .3s, background-color .3s;
 }

 input[type='checkbox'].switch::after {
     content: '';
     display: inline-block;
     width: 1rem;
     height: 1rem;
     border-radius: 50%;
     background: #fff;
     box-shadow: 0, 0, 2px, #999;
     transition: .4s;
     top: 2px;
     position: absolute;
     left: 2px;
 }

 input[type='checkbox'].switch:checked {
     background: rgb(19, 206, 102);
 }

 /* 当input[type=checkbox]被选中时:伪元素显示下面样式 位置发生变化 */
 input[type='checkbox'].switch:checked::after {
     content: '';
     position: absolute;
     left: 55%;
     top: 2px;
 }
方法二:switch按钮+点击事件
<div class="wrapper">
    <section id="fields" class="fields section">
        <div class="fields__item">
            <input type="checkbox" id="checkbox1" class="uiswitch" onclick="showData(checkbox1);">
        </div>
    </section>
</div>
.uiswitch {
  -webkit-box-sizing: border-box;
  -moz-box-sizing: border-box;
  box-sizing: border-box;
  -webkit-appearance: none;
  -moz-appearance: none;
  -ms-appearance: none;
  -o-appearance: none;
  appearance: none;
  -webkit-user-select: none;
  -moz-user-select: none;
  -ms-user-select: none;
  user-select: none;
  height: 31px;
  width: 51px;
  position: relative;
  border-radius: 16px;
  cursor: pointer;
  outline: 0;
  z-index: 0;
  margin: 0;
  padding: 0;
  border: none;
  background-color: #e5e5e5;
  -webkit-transition-duration: 600ms;
  -moz-transition-duration: 600ms;
  transition-duration: 600ms;
  -webkit-transition-timing-function: ease-in-out;
  -moz-transition-timing-function: ease-in-out;
  transition-timing-function: ease-in-out;
  -webkit-touch-callout: none;
  -webkit-text-size-adjust: none;
  -webkit-tap-highlight-color: rgba(0, 0, 0, 0);
  -webkit-user-select: none;
}

.uiswitch::before {
  -webkit-box-sizing: border-box;
  -moz-box-sizing: border-box;
  box-sizing: border-box;
  height: 27px;
  width: 47px;
  content: " ";
  position: absolute;
  left: 2px;
  top: 2px;
  background-color: #ffffff;
  border-radius: 16px;
  z-index: 1;
  -webkit-transition-duration: 300ms;
  -moz-transition-duration: 300ms;
  transition-duration: 300ms;
  -webkit-transform: scale(1);
  -moz-transform: scale(1);
  -ms-transform: scale(1);
  -o-transform: scale(1);
  transform: scale(1);
}

.uiswitch::after {
  -webkit-box-sizing: border-box;
  -moz-box-sizing: border-box;
  box-sizing: border-box;
  height: 27px;
  width: 27px;
  content: " ";
  position: absolute;
  border-radius: 27px;
  background: #ffffff;
  z-index: 2;
  top: 2px;
  left: 2px;
  box-shadow: 0px 0px 1px 0px rgba(0, 0, 0, 0.25),
    0px 4px 11px 0px rgba(0, 0, 0, 0.08), -1px 3px 3px 0px rgba(0, 0, 0, 0.14);
  -webkit-transition: -webkit-transform 300ms, width 280ms;
  -moz-transition: -moz-transform 300ms, width 280ms;
  transition: transform 300ms, width 280ms;
  -webkit-transform: translate3d(0, 0, 0);
  -moz-transform: translate3d(0, 0, 0);
  -ms-transform: translate3d(0, 0, 0);
  -o-transform: translate3d(0, 0, 0);
  transform: translate3d(0, 0, 0);
  -webkit-transition-timing-function: cubic-bezier(0.42, 0.8, 0.58, 1.2);
  -moz-transition-timing-function: cubic-bezier(0.42, 0.8, 0.58, 1.2);
  transition-timing-function: cubic-bezier(0.42, 0.8, 0.58, 1.2);
}

.uiswitch:checked {
  background-color: #4cd964;
  background-image: -webkit-linear-gradient(-90deg, #4cd964 0%, #4dd865 100%);
  background-image: linear-gradient(-180deg, #4cd964 0%, #4dd865 100%);
}

.uiswitch:checked::after {
  -webkit-transform: translate3d(16px, 0, 0);
  -moz-transform: translate3d(16px, 0, 0);
  -ms-transform: translate3d(16px, 0, 0);
  -o-transform: translate3d(16px, 0, 0);
  transform: translate3d(16px, 0, 0);
  right: 18px;
  left: inherit;
}

.uiswitch:active::after {
  width: 35px;
}

.uiswitch:checked::before,
.uiswitch:active::before {
  -webkit-transform: scale(0);
  -moz-transform: scale(0);
  -ms-transform: scale(0);
  -o-transform: scale(0);
  transform: scale(0);
}

.uiswitch:disabled {
  opacity: 0.5;
  cursor: default;
  -webkit-transition: none;
  -moz-transition: none;
  transition: none;
}

.uiswitch:disabled:active::before,
.uiswitch:disabled:active::after,
.uiswitch:disabled:checked:active::before,
.uiswitch:disabled:checked::before {
  width: 27px;
  -webkit-transition: none;
  -moz-transition: none;
  transition: none;
}

.uiswitch:disabled:active::before {
  height: 27px;
  width: 41px;
  -webkit-transform: translate3d(6px, 0, 0);
  -moz-transform: translate3d(6px, 0, 0);
  -ms-transform: translate3d(6px, 0, 0);
  -o-transform: translate3d(6px, 0, 0);
  transform: translate3d(6px, 0, 0);
}

.uiswitch:disabled:checked:active::before {
  height: 27px;
  width: 27px;
  -webkit-transform: scale(0);
  -moz-transform: scale(0);
  -ms-transform: scale(0);
  -o-transform: scale(0);
  transform: scale(0);
}

.uiswitch {
  background-color: #e5e5e5;
}

.uiswitch::before {
  background-color: #ffffff;
}

.uiswitch::after {
  background: #ffffff;
}

.uiswitch:checked {
  background-color: #4cd964;
  background-image: -webkit-linear-gradient(-90deg, #4cd964 0%, #4dd865 100%);
  background-image: linear-gradient(-180deg, #4cd964 0%, #4dd865 100%);
}

.custom::before {
  background-color: #f7f2e5;
}

.custom::after {
  background: #fff3a6;
}

.custom:checked {
  background-color: #ffca3f;
  background-image: -webkit-linear-gradient(-90deg, #ffca3f 0%, #feca40 100%);
  background-image: linear-gradient(-180deg, #ffca3f 0%, #feca40 100%);
}

.my-switch {
  border-radius: 4px;
}

.my-switch::before {
  border-radius: 2px;
}

.my-switch::after {
  border-radius: 1px;
}

.my-switch:checked {
  background: hotpink;
}

.my-switch:checked::after {
  background-color: #333;
}

function showData(checkbox) {
    if (checkbox.checked) {
        console.log("选中checkbox所执行的操作");
        map.addLayer(heatmap_vector);
    } else {
         console.log("取消选中checkbox所执行的操");
        map.removeLayer(heatmap_vector);
    }
}